
Steps
1. In a large mixing bowl, combine the warm water and yeast. Let it sit for a few minutes until the yeast is activated and starts to bubble.
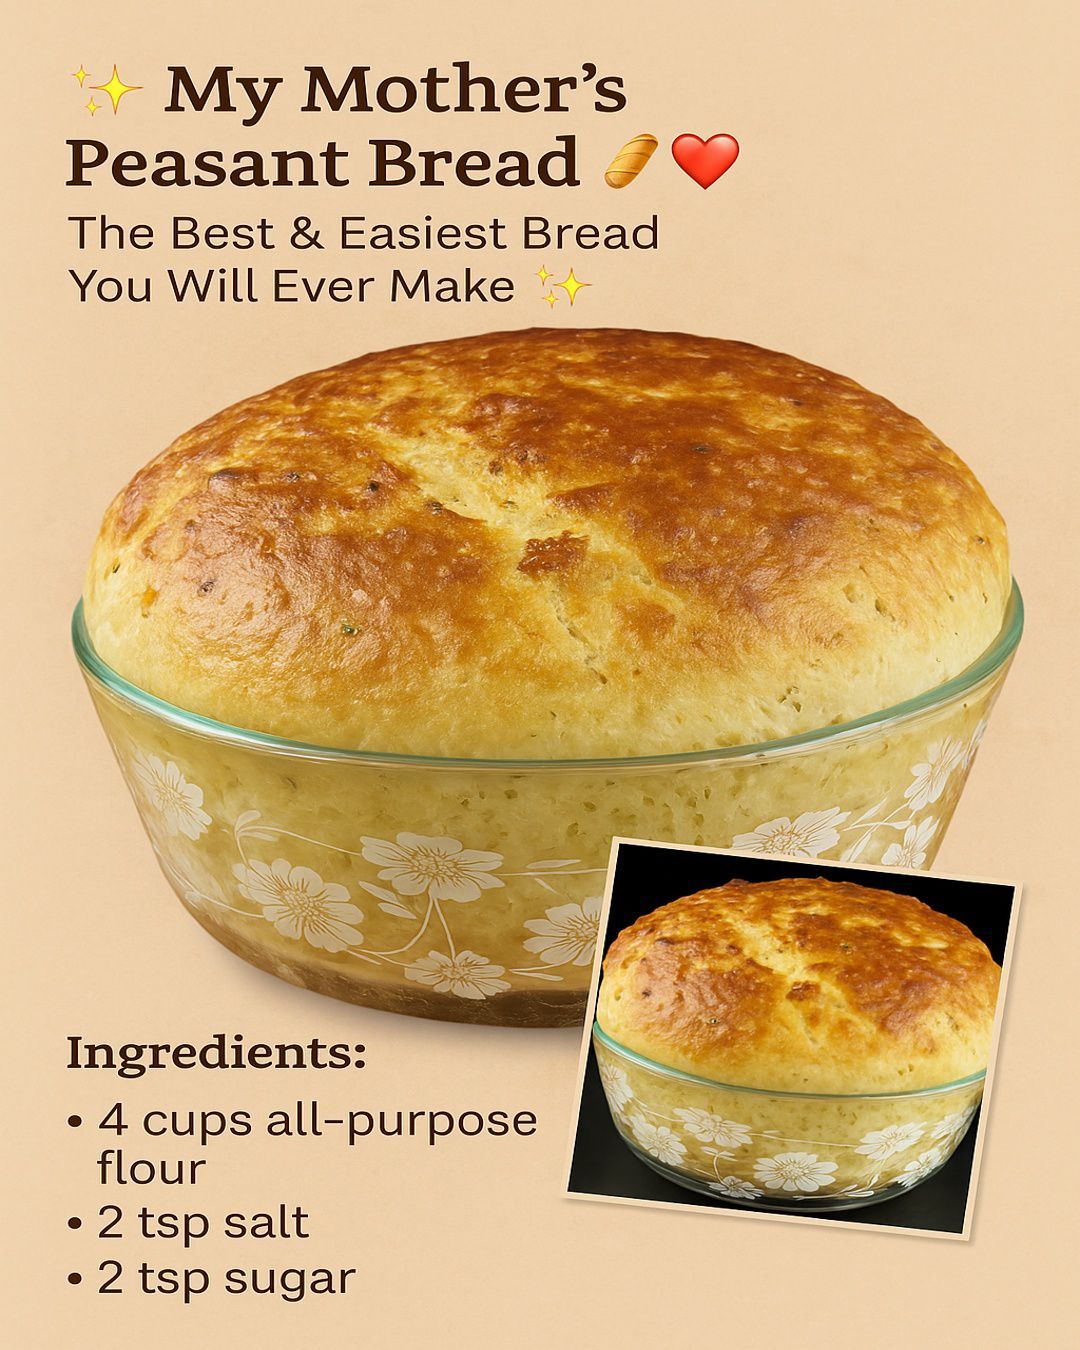
2. Add the flour and salt to the bowl and mix until a shaggy dough forms.
3. Knead the dough on a floured surface for about 10 minutes until it becomes smooth and elastic.
4. Place the dough back in the mixing bowl, cover it with a clean kitchen towel, and let it rise in a warm place for about an hour or until it has doubled in size.
5. Preheat your oven to 375°F (190°C) and grease a baking pan.
6. Punch down the risen dough and shape it into a loaf. Place the loaf in the prepared baking pan.
7. Let the dough rise for another 30 minutes while the oven is preheating.
8. Bake the bread for 30-35 minutes or until it is golden brown and sounds hollow when tapped on the bottom.
9. Remove the bread from the oven and let it cool slightly before slicing and serving.
Enjoy your freshly baked peasant bread with butter, jam, or any topping of your choice!
Variations
While my mother’s peasant bread recipe is a classic and beloved favorite, there are endless possibilities for variations and additions to make it your own. Here are a few ideas to customize the bread:
– Add herbs like rosemary, thyme, or oregano to the dough for a savory twist.
– Mix in grated cheese, olives, or sun-dried tomatoes for a Mediterranean flair.
– Sprinkle seeds like sesame, poppy, or flaxseed on top of the loaf before baking for added texture and flavor.
Feel free to experiment with different ingredients and flavors to create a unique version of peasant bread that suits your taste preferences.
Remember, baking is an art, so don’t be afraid to get creative in the kitchen!
Now that you have learned how to make my mother’s peasant bread and explored some variations, here are a few tips to ensure your baking success.
Tips
– Use warm water to activate the yeast, but not too hot as it can kill the yeast.
– Knead the dough until it is smooth and elastic to develop the gluten properly.
– Allow the dough to rise in a warm, draft-free place for the best results.
– Keep an eye on the bread while baking to prevent it from overbrowning.
By following these tips, you can achieve a perfect loaf of peasant bread every time. Now, let’s wrap up this article with a conclusion and address some common questions that may arise.
Conclusion
Baking my mother’s peasant bread is a wholesome and rewarding experience that brings joy to both the baker and those who get to enjoy the delicious end result. The simplicity of the ingredients and the process make this recipe accessible to home bakers of all levels.
I hope that this article has inspired you to try your hand at baking this timeless bread recipe and create your own traditions around the dining table. Whether you enjoy it fresh out of the oven or toasted the next day, my mother’s peasant bread is sure to become a favorite in your household.
Thank you for joining me on this baking journey, and may your kitchen be filled with the warm aroma of freshly baked bread for years to come!
FAQs
Q: Can I use whole wheat flour instead of all-purpose flour?
A: Yes, you can substitute whole wheat flour for a portion of the all-purpose flour, but keep in mind that it may result in a denser loaf.
Q: How should I store the leftover bread?
A: To keep the bread fresh, store it in a paper bag at room temperature for up to 2-3 days. You can also freeze sliced bread for longer storage.
Q: Can I double the recipe to make more loaves?
A: Yes, you can double or even triple the ingredients to make multiple loaves. Just make sure to adjust the rising and baking times accordingly.
Q: Can I add nuts or dried fruits to the dough?
A: Absolutely! Feel free to mix in nuts, dried fruits, or seeds to the dough for added texture and flavor.
ADVERTISEMENT
