
Step-by-Step Instructions
1. Preheat and Prep
- Preheat your oven to 410°F (210°C). Line a baking sheet with parchment paper or a silicone baking mat.
- In a medium bowl, whisk together the flour, baking soda, and salt. Set aside.
2. Cream the Butter and Sugars
- In a large mixing bowl, use a hand or stand mixer to cream the softened butter, granulated sugar, and brown sugar together on medium speed until light and fluffy (about 2–3 minutes).
- Add the eggs one at a time, mixing well after each addition. Scrape down the sides of the bowl as needed.
- Mix in the vanilla extract.
3. Combine Dry and Wet Ingredients
- Gradually add the dry ingredients to the wet ingredients, mixing on low speed until just combined. Be careful not to overmix.
- Fold in the chocolate chunks (and nuts, if using) using a spatula.
4. Portion the Dough
- Use a large ice cream scoop or your hands to form generous balls of dough, about 3–4 tablespoons each (about 50–60g per ball).
- Place the dough balls on the prepared baking sheet, leaving plenty of space between them (about 3 inches apart).
5. Bake
- Bake for 9–11 minutes, or until the edges are golden brown but the centers still look slightly underbaked. The cookies will continue to set as they cool.
- Optional: For an extra gooey center, press a few additional chocolate chunks onto the tops of the cookies immediately after removing them from the oven.
6. Cool and Enjoy
- Let the cookies cool on the baking sheet for 5 minutes before transferring them to a wire rack to cool completely (if you can resist eating them warm!).
- Serve with a glass of milk or enjoy them as-is for a heavenly treat.
Tips for Success
- Use High-Quality Chocolate: Opt for premium chocolate bars or chunks for the best flavor and melty texture.
- Chill the Dough (Optional): If the dough feels too soft, chill it for 15–30 minutes before baking to prevent spreading.
- Don’t Overbake: The cookies should look slightly underdone in the center when you take them out of the oven. They’ll firm up as they cool.
- Freeze for Later: Scoop the dough into balls and freeze them on a baking sheet. Once frozen, transfer to a freezer bag. Bake directly from frozen, adding 1–2 extra minutes to the baking time.
Why This Recipe Works
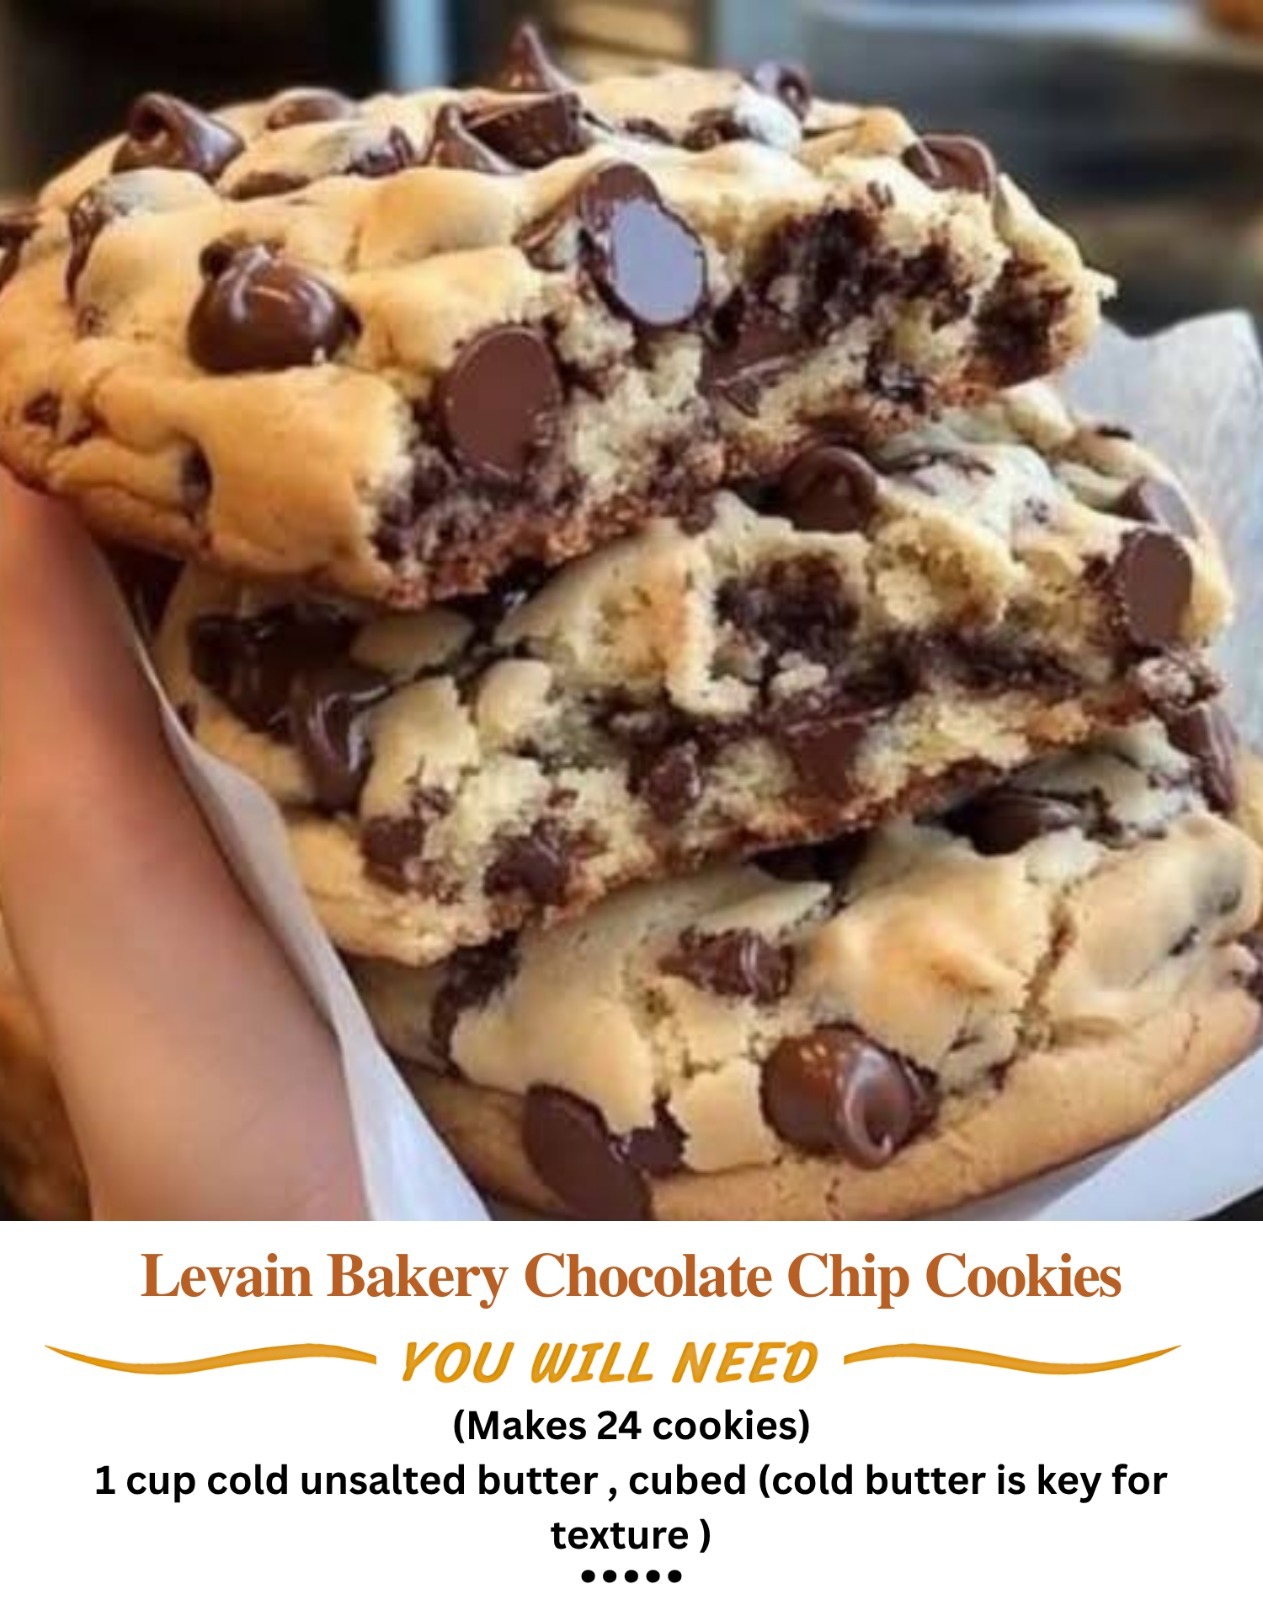
These Levain Bakery-Style Chocolate Chip Cookies are designed to mimic the iconic cookies from Levain Bakery in New York City. The combination of melted chocolate chunks, gooey centers, and crispy edges creates a perfect balance of textures and flavors. Baking them at a high temperature ensures a golden crust while keeping the inside soft and decadent. Whether enjoyed fresh out of the oven or saved for later, these cookies are a show-stopping treat that’s worth every bite.
Conclusion: A Cookie Worth Every Calorie
Whether you’re a fan of Levain Bakery or simply love a good chocolate chip cookie, this recipe is sure to satisfy your cravings. Its thick, gooey texture, rich chocolate chunks, and crispy edges make it a standout dessert that’s as indulgent as it is delicious. Plus, its freezer-friendly nature means you can enjoy fresh-baked cookies anytime.
We’d love to see your creations! Tag us in your photos or share your favorite variations—your take on these legendary cookies might just inspire others to try them too! 🍪✨
ADVERTISEMENT
